Hey there! I'm an actual guy who runs a Mitsubishi Starter supply business. Today, I wanna walk you through how to replace a faulty Mitsubishi starter. I've been in this business for years, dealing with all sorts of starters, and I know the ins and outs of the replacement process.
Understanding the Basics
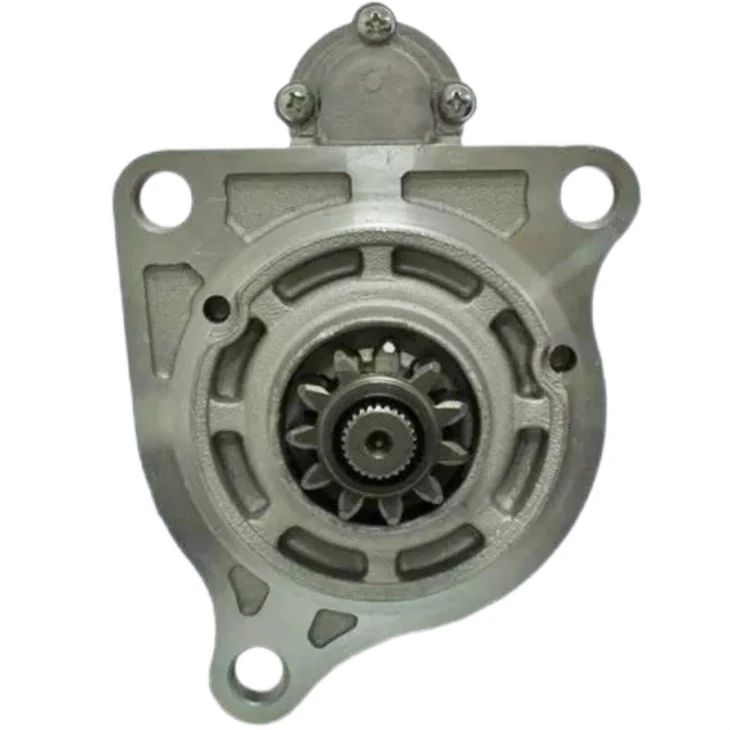
Before we dive into the replacement process, let's talk a bit about what a starter does. The starter is a crucial part of your vehicle. When you turn the ignition key, the starter gets the engine cranking. If your starter malfunctions, your engine won't start, leaving you in a real bind.
Mitsubishi starters come in different models, and each is designed to fit specific vehicle needs. Over time, factors like wear and tear, electrical issues, or mechanical failures can make your starter go bad. Some common signs of a faulty starter include a clicking noise when you turn the key, the engine not cranking at all, or slow cranking.
Tools You'll Need
Replacing a Mitsubishi starter isn't overly complicated, but you'll need the right tools. Here's what you should gather:
- Socket set: A good quality socket set with various sizes will be essential for removing bolts.
- Wrenches: A couple of adjustable wrenches can come in handy for disconnecting electrical cables.
- Screwdriver: You might need a Phillips or flat - head screwdriver to remove any covers or hold - down screws.
- Jack and jack stands: If you need to access the starter from underneath the vehicle, make sure you have a jack to lift it safely and jack stands to support it.
Safety First
Before you start working on the starter, safety is key. First, make sure your vehicle is parked on a flat, stable surface. Engage the parking brake and turn off the ignition. If you're going to work under the vehicle, always use jack stands. Also, disconnect the negative battery cable to prevent any electrical shocks or short - circuits.
Locating the Starter
The location of the starter can vary depending on the Mitsubishi model you have. In most cases, you can find it near the bottom of the engine on the transmission bell housing. If you're having trouble finding it, you can refer to your vehicle's owner's manual, which usually has a diagram showing the starter's position.
Removing the Old Starter
Once you've located the starter, it's time to remove it.
- Disconnect the electrical connections: There are usually two main electrical connections on the starter: the large battery cable and the smaller ignition or solenoid cable. Use your adjustable wrench to loosen the nuts on these connections and carefully remove them. Be careful not to let the cables touch each other or any metal parts of the vehicle.
- Remove the mounting bolts: Locate the bolts that hold the starter in place. They are typically 2 or 3 bolts. Use your socket set to loosen and remove these bolts. Keep them in a safe place as you'll need them later to install the new starter.
- Take out the starter: After removing the bolts and electrical connections, gently pull the starter away from the engine. It might be a bit snug, so you may need to wiggle it a bit to get it free.
Installing the New Starter
Now that you've removed the old starter, it's time to put in the new one.
- Position the new starter: Line up the new starter with the mounting holes on the transmission bell housing. Make sure it fits properly and all the holes are aligned.
- Re - install the mounting bolts: Take the bolts you removed earlier and thread them into the mounting holes. Tighten them securely with your socket set, but don't over - tighten them as this can damage the starter or the engine block.
- Connect the electrical cables: Reconnect the large battery cable and the smaller ignition or solenoid cable to their respective terminals on the starter. Tighten the nuts with your adjustable wrench to ensure a good, secure connection.
Testing the New Starter
Once you've installed the new starter, it's time to test it.

- Reconnect the negative battery cable: Make sure the connection is tight.
- Turn the ignition key: If everything is installed correctly, the engine should crank and start up. Listen for any strange noises and check for any signs of electrical problems, like sparks or short - circuits.
Starter Models and Applications
If you're in the market for a new Mitsubishi starter, we've got a wide range of models to suit different vehicles. Check out these references:
- Reference Number :Mitsubishi:M9T81471 Isuzu:1811003521, 1811003522 Application:ISUZU TRUCK CXZ51K 6WF1,6WA1
- Reference Number:Mitsubishi:M009T61471, M009T65479,M9T61479, M9T64973, M9T65479 VOLVO:20397219,21103701,3803847,3807225, 85006148,85013134 Application:VOLVO D9A300 RENAULT V.I. DXi11
- Reference Number:MitsubishiM002T78681, M002T78682, M2T78681, M2T78682 Nissan:233000T003, 233000T005, 233000T006, 233000T013, 233000T014, 2330097005 Application:Nissan FD42
Wrapping Up and Contact
Replacing a faulty Mitsubishi starter might seem a bit daunting at first, but with the right tools and a bit of know - how, you can do it yourself. And if you're looking for a high - quality replacement starter, we're here to help. We've got a great selection of Mitsubishi starters, and we're always ready to assist you with your purchase. Whether you have questions about the right model for your vehicle or need some advice on the installation process, don't hesitate to reach out.
References
- Vehicle Owner's Manual
- Automotive Repair Guides